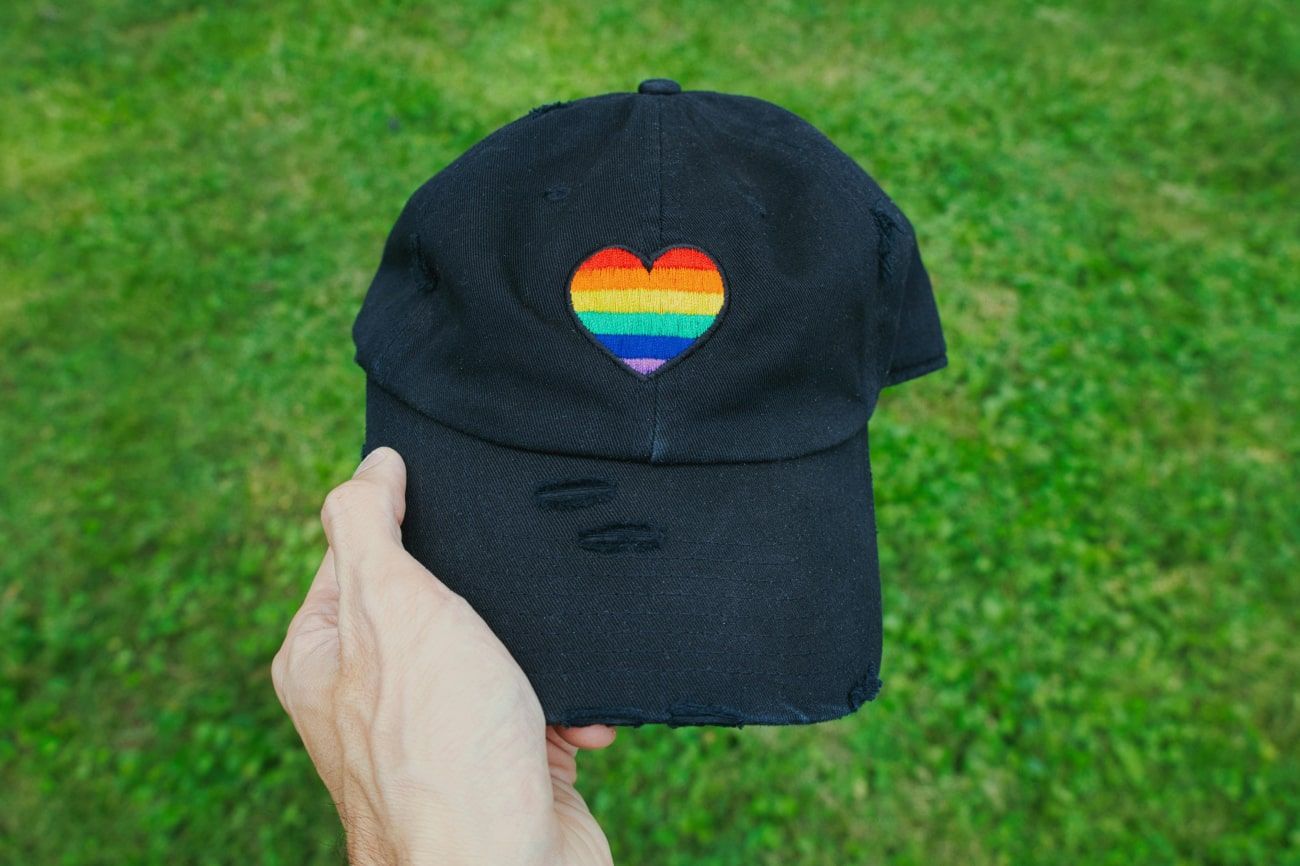
Ever admired a custom-embroidered hat and thought, "I wish I could make one of those"? Well, you can—and it's easier than you think! You don't need a fancy machine; you only need a needle, some thread, and a bit of patience to create personalized designs on your favorite cap. In this blog, we will walk you through how to embroider a hat, making sure your first try is a success.

Materials You'll Need
Before starting, gather the necessary supplies:
-
A blank hat (baseball caps work great for beginners)
-
Embroidery hoop (small size, ideally 4 inches)
-
Embroidery floss (choose colors you love)
-
Hand embroidery needles
-
Disappearing ink pen or chalk pencil for marking
-
Scissors
-
Stabilizer (cutaway or tear-away works best for hats)
-
Optional: Thimble or finger protector (for thicker hats)
How to Embroider a Hat by Hand
Learn the art of hand embroidery and give your hats a unique, personalized touch with these simple steps:
-
Step 1: Choose your design
If you're a beginner, pick a simple design with bold lines. You can freehand a pattern using a disappearing ink pen, trace a template, or print out a design and transfer it to your hat.
-
Step 2: Prepare your hat
Identify the area on the hat where you want your design to go. If necessary, gently open the inner seams of the hat to create a smoother surface for embroidery. Structured hats, like baseball caps, help stabilize the area with backing to prevent puckering.
-
Step 3: Position the stabilizer
Cut a piece of stabilizer slightly larger than the embroidery area and attach it to the inside of the hat using temporary adhesive spray or pins. The stabilizer will provide support and make the stitching clean and smooth.
-
Step 4: Mount your hat in the hoop
If your hat fits in an embroidery hoop, place the design area in the center and tighten the hoop. If the fabric is too thick or curved, hold it taut with your non-dominant hand while stitching to maintain even tension.
-
Step 5: Thread your needle
Cut a piece of embroidery floss and separate it into 2-3 strands for finer stitches. For bolder lines, use all strands. Thread the floss through the needle and knot the end securely.
-
Step 6: Start embroidering
Begin stitching from the underside of the hat, anchoring your thread with a small knot. Use simple embroidery stitches like backstitches, satin stitches, or straight stitches. Follow your design carefully, keeping stitches even and applying gentle tension to avoid fabric distortion.
-
Step 7: Secure the stitches
Once your embroidery is complete, tie a secure knot on the underside of the hat and trim any excess thread. Be careful not to cut too close to prevent unraveling.
-
Step 8: Finalize your embroidery
Remove the embroidery hoop carefully, and peel or cut away any excess stabilizer from the inside of the hat. Wipe off any remaining design marks with a damp cloth. Finally, inspect your embroidery for loose threads and trim if needed.
Tips for Perfect Hat Embroidery
Here are some tips to help you achieve flawless results every time:
-
Avoid fabrics that are too stretchy or flimsy for easier stitching.
-
Test your stitches on scrap fabric or an old hat before your final project.
-
Embroidering on curved surfaces is trickier, so take your time.
-
Don't skip the stabilizer; it prevents your stitches from pulling the hat fabric unevenly.
Now that you know how to embroider a hat, you can turn any plain cap into a stylish, one-of-a-kind accessory. If you want to add initials, a unique logo, or an intricate design, hat embroidery allows you to express your creativity in a unique way. With the right materials and a little patience, anyone can master embroidery on hats and achieve professional-looking results. So grab your supplies, start stitching, and transform your favorite hat into wearable art!
